
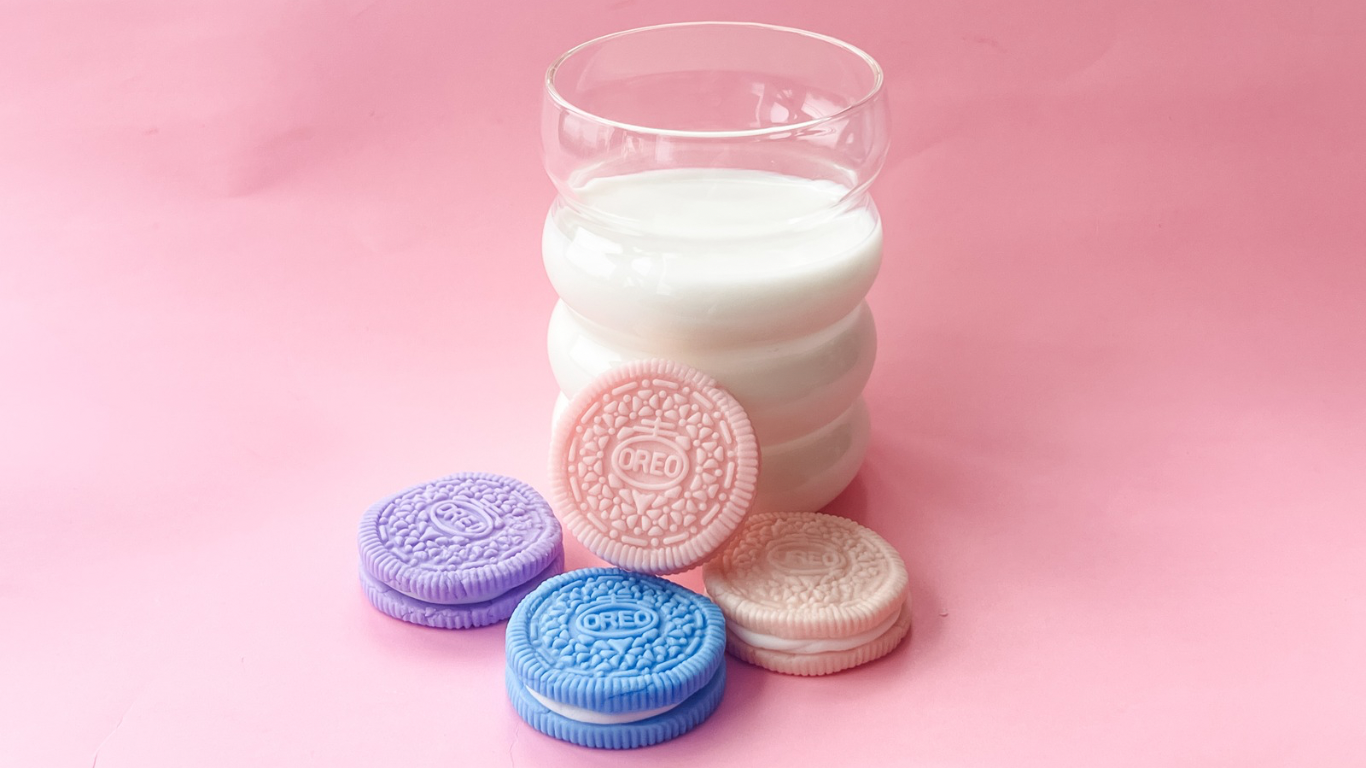
If you love the sweet vanilla flavor of Golden Oreos, you’re going to adore these Pastel Oreo Cookies! This fun and colorful twist on the classic brings the same delicious taste with a playful, vibrant look. Perfect for birthdays, Easter, baby showers, or just because, these cookies are soft, chewy, and packed with that signature vanilla goodness. Plus, they’re easy to customize with different pastel colors to match any occasion. Whether you’re baking for a party or just craving a sweet treat, these homemade Pastel Oreo Cookies are as pretty as they are delicious!

Ingredients and Substitutes
Making Pastel Oreo Cookies is simple, and with a few ingredient swaps, you can customize them to suit your preferences or dietary needs. Here’s what you’ll need, along with some easy substitutes:
- Unsalted Butter – Adds richness and moisture to the cookies. If you only have salted butter, reduce the added salt in the recipe by half. Dairy-free? Use a plant-based butter substitute.
- Granulated Sugar – Gives the cookies their sweet flavor and crisp edges. You can also use cane sugar or a sugar substitute like monk fruit sweetener for a lower-sugar option.
- Egg – Helps bind the dough and gives the cookies structure. If you need an egg replacement, try a flax egg (1 tablespoon ground flaxseed + 2.5 tablespoons water).
- Vanilla Extract – Enhances the signature Golden Oreo flavor. For a twist, you can swap half the vanilla with almond or butter extract.
- All-Purpose Flour – Provides the base for the dough. A 1:1 gluten-free flour blend can be used for a gluten-free version.
- Baking Powder – Helps the cookies rise slightly, giving them a soft yet chewy texture. No substitute is recommended for this.
- Salt – Balances the sweetness. If using salted butter, you may reduce or omit this.
- Pastel Food Coloring – To achieve the fun pastel look, use gel food coloring in pink, blue, yellow, or any other soft color. Gel food coloring is preferred over liquid for more vibrant hues without altering the dough’s consistency.
These ingredients create the perfect Pastel Oreo Cookies, but feel free to experiment with different extracts, colors, or even flavored fillings to make them your own!

Variations of these Pastel Oreo Cookies
One of the best things about Pastel Oreo Cookies is how easy they are to customize! Whether you want to switch up the flavors, add some fun textures, or create a festive theme, here are some creative variations to try:
1. Different Flavors
- Swap out vanilla extract for almond, lemon, or coconut extract to give your cookies a unique twist.
- Add a teaspoon of honey or maple syrup for a subtle sweetness and depth of flavor.
- For a citrusy spin, mix in a bit of lemon or orange zest to brighten up the cookie dough.
2. Fun Colors & Designs
- Instead of one pastel color, divide the dough and use multiple colors for a tie-dye or marbled effect.
- Make a rainbow version by using a different pastel shade for each cookie.
- Create a gradient ombré effect by using varying intensities of the same color.
3. Chocolate or Sprinkles Twist
- Add white chocolate chips to the cookie dough for extra sweetness.
- Roll the edges of the frosting in sprinkles, crushed Golden Oreos, or colored sugar for a festive touch.
- Drizzle the finished cookies with melted white chocolate for a bakery-style look.
4. Stuffed Cookies
- Instead of sandwiching them, make filled cookies by adding a dollop of frosting in the center of the dough before baking.
- Try a Nutella or peanut butter filling instead of traditional vanilla buttercream for a delicious surprise inside.
5. Holiday & Seasonal Themes
- Use pastels for a fun Easter-themed batch.
- For a wintery look, use light blue and white, and add a peppermint extract to the frosting.
- Make a Valentine’s Day version by using pink dough with strawberry-flavored filling.
With so many ways to get creative, you can make these Pastel Oreo Cookies uniquely yours every time. Try mixing and matching different variations to find your favorite combination!
Check out these other Cookie Recipes


Pastel Oreo Cookies
Equipment
- 1 stand or handheld mixer
- 2 baking sheets
- 1 Parchment paper
Ingredients
- ¾ cup butter, unsalted room temperature
- ¼ cup granulated sugar
- ¼ cup light brown sugar packed
- 2 tbsp golden corn syrup
- ¼ tsp salt
- 1 pc large egg
- 2 tsp vanilla extract
- 2 cups all-purpose flour
- 6 oz fondant
- gel food coloring

Instructions
For the cookies
- Using the paddle attachment, beat the butter until smooth and creamy. Add the sugars and corn syrup. Mix until light and fluffy.
- Add the egg and mix. Add the flour and vanilla. Mix until combined.
- Gather the dough and divide depending on how many colors you want. Add a few drops of the gel food coloring on each and mix. Shape each dough into a large disc. Wrap in cling film and refrigerate for an hour.
- Preheat the oven at 350°F/175°C
- Line 2 baking sheets with parchment paper.
- Roll out dough between 2 sheets of parchment papers to 1/8-inch thickness for 2-inch cookies and 1/4-inch for larger 4-inch cookies
- Using a cookie cutter, cut out cookies and transfer to prepared cookie sheets, spacing 1 inch apart.
- Bake 1 sheet at a time for 10-12 minutes for 2 inch cookies or 12-14 minutes for 4 inch cookies or until the cookies are firm on top and golden around edges.
- Allow to cool on cookie sheet for 5 minutes before transferring to cool completely on cooling racks.
For the filling
- Roll out the fondant to just over a quarter of an inch thickness and cut into circles using the same cookie cutter as for the cookies.
- Brush one side of the fondant with a little milk and press this onto the bottom of one cookie.
- Brush the other side of the fondant with a little water and place the bottom of a second cookie, pressing gently to secure the sandwich
Notes
SHOP FOR BAKING PRODUCTS USED IN THIS RECIPE:
This post may contain affiliate links. Read our disclosure policy for more details


Leave a Reply